Creating Realistic Fire Using VFX Stock Footage
Learn common fire compositing mistakes, and how to composite realistic fire with pre-shot elements.
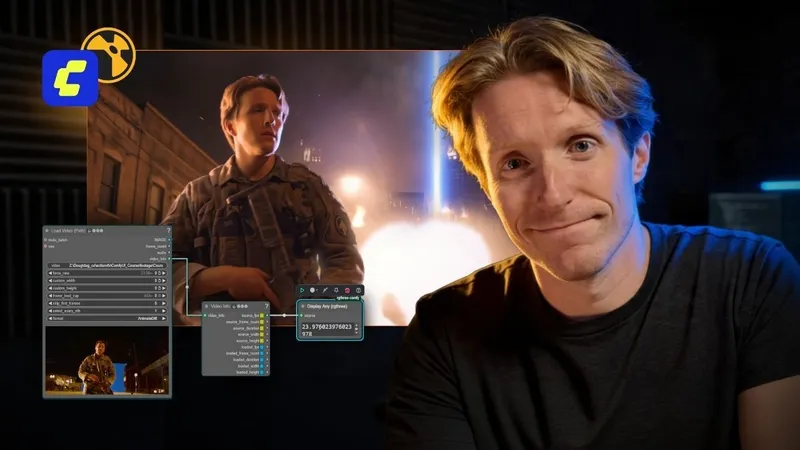
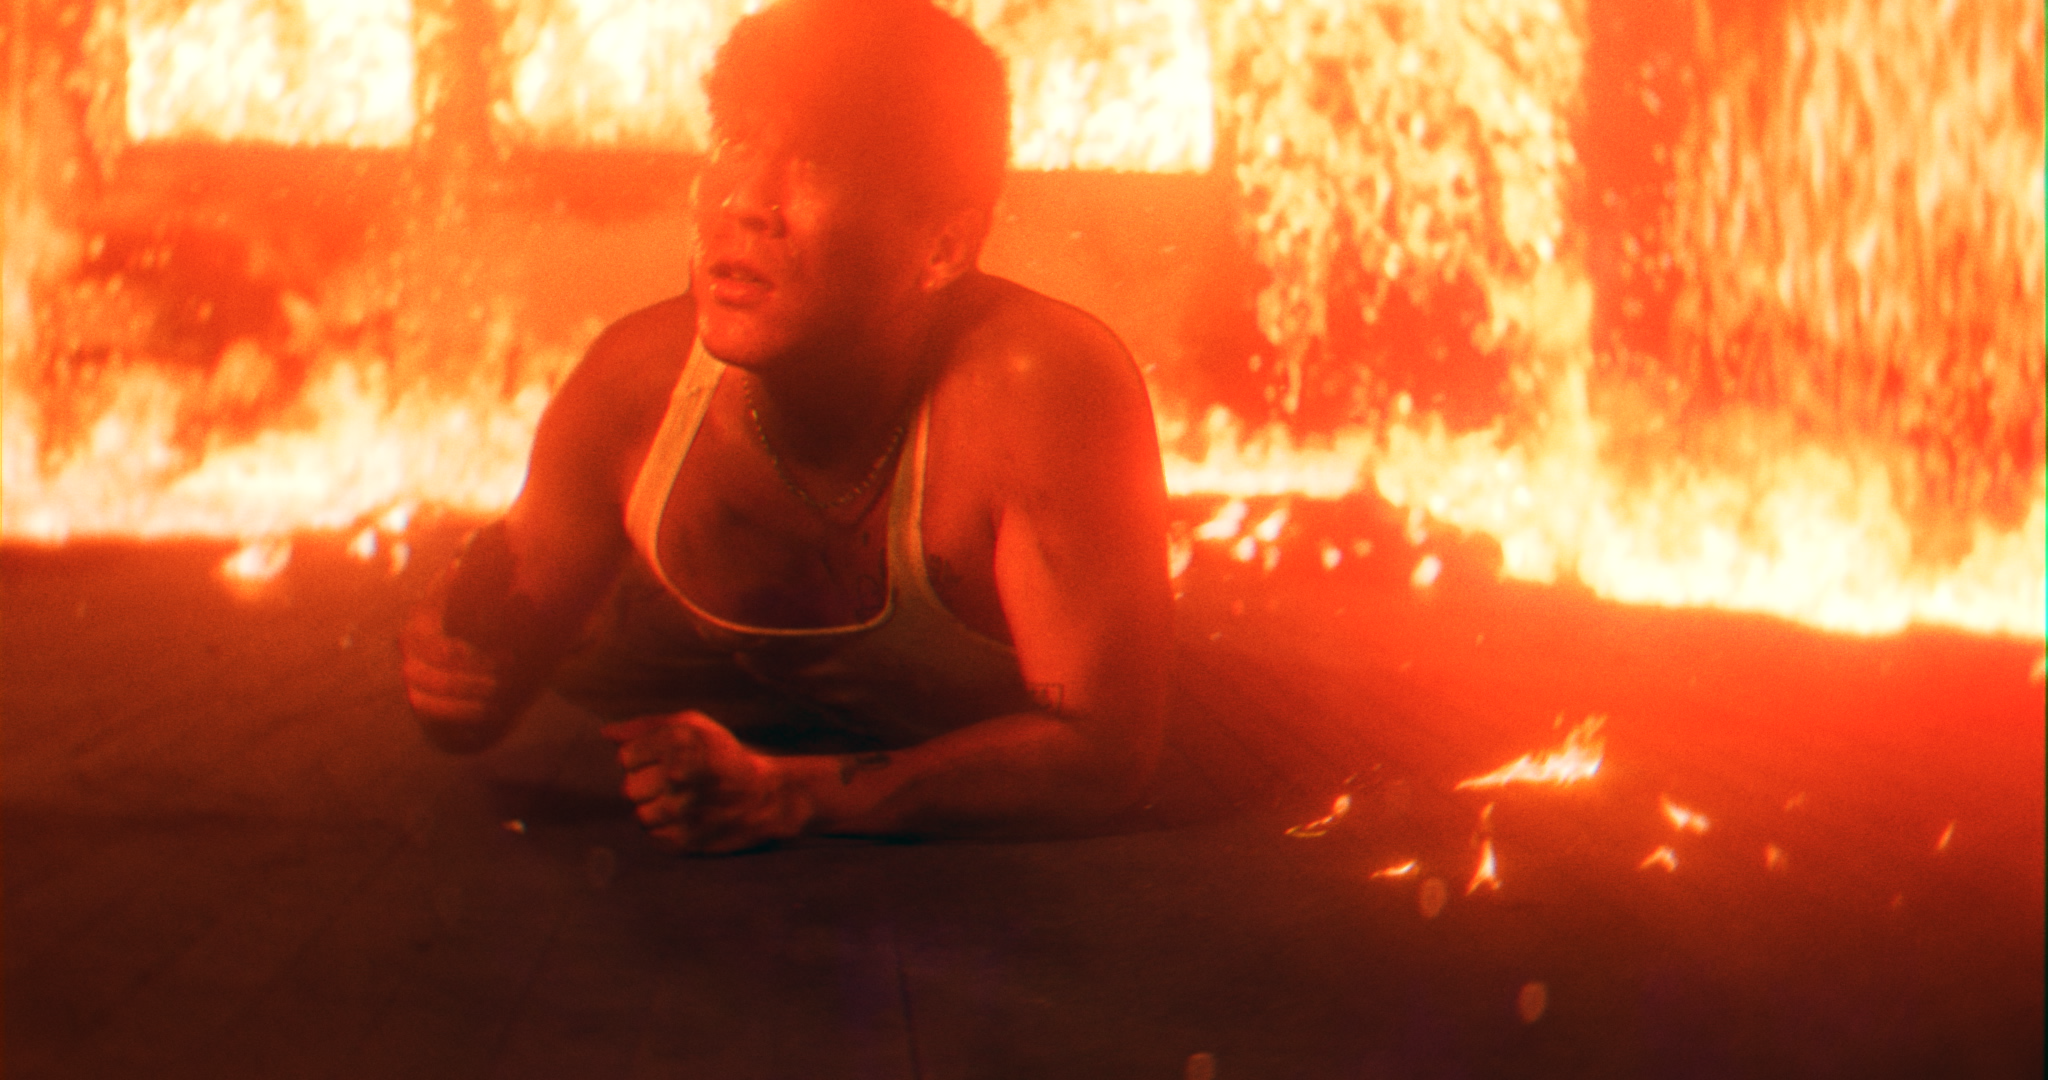
Fire composites fail for a lot of the same reasons: wrong exposure, mismatched motion blur, or a subject that doesn't react to the light. In this tutorial, Sam Crowe (filmmaker and compositing instructor at ActionVFX) breaks down how to composite convincing fire shots, and common compositing mistakes in each step.
If you want footage to practice on, the ActionVFX Practice Footage Library has free production-quality plates that are perfect for practicing fire composites.
Here's a summary of what Sam covers in the tutorial:
1. Get your motion track and roto right first
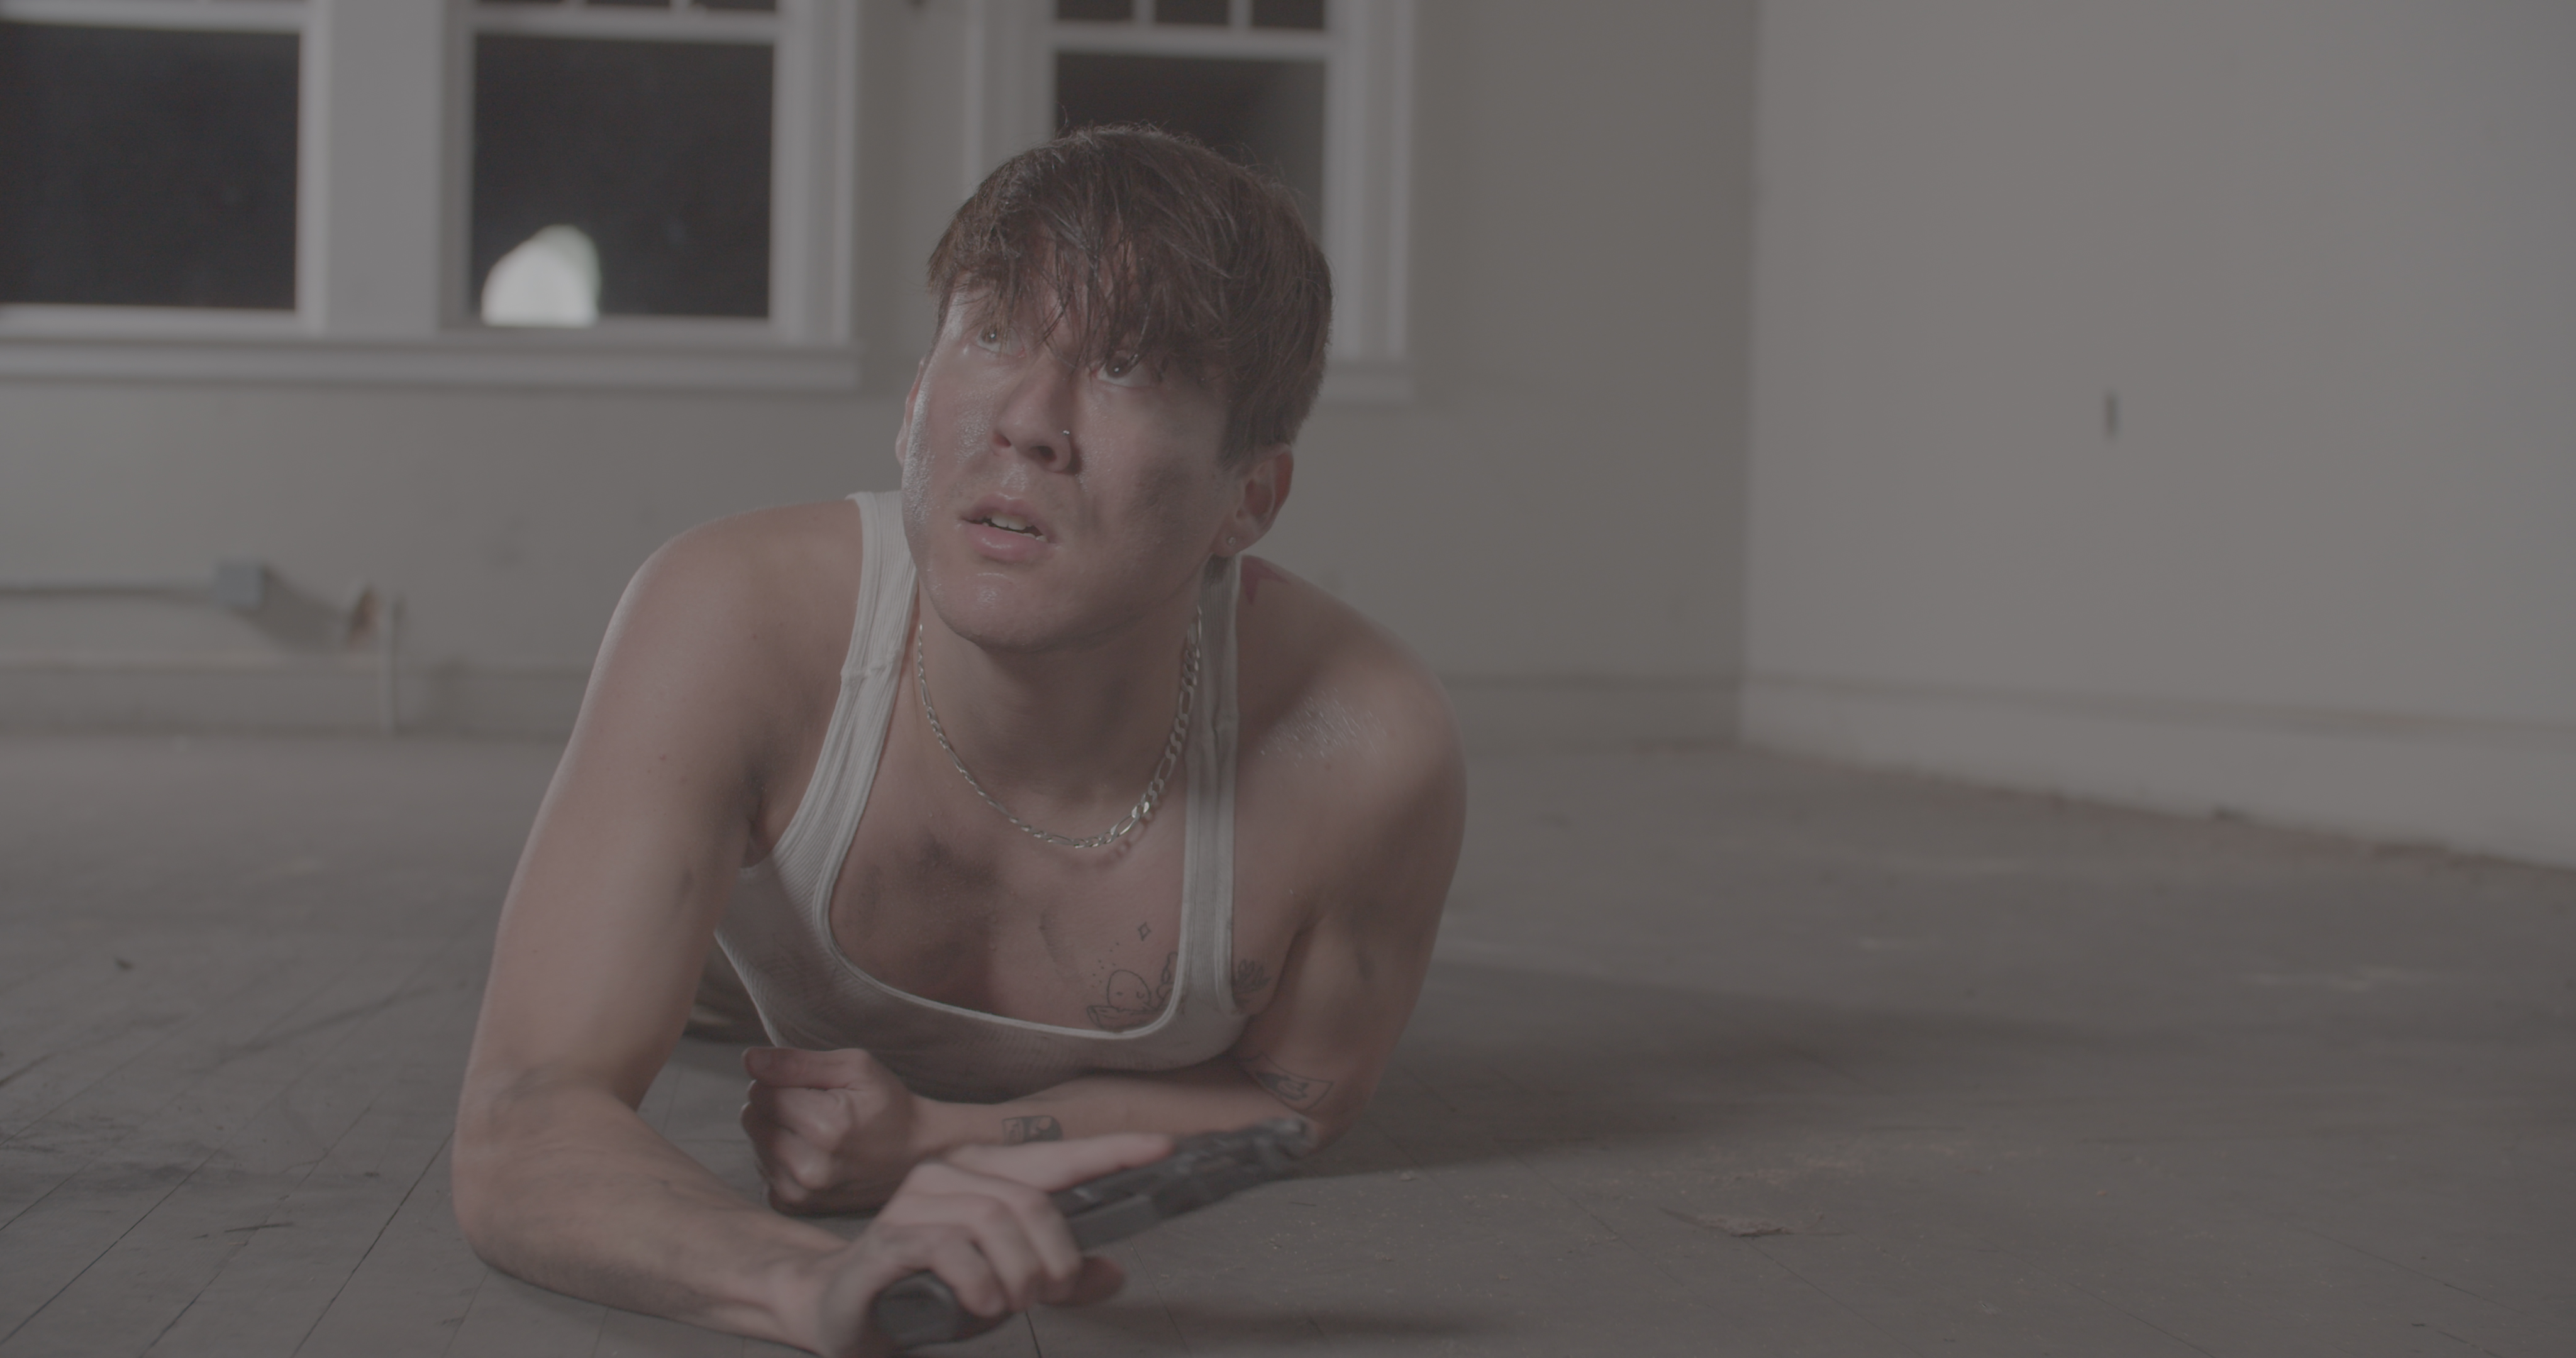
Before you touch a single fire element, you need a solid motion track and a clean roto. For a handheld shot moving through 3D space, a 2D planar track won't cut it. You need a full 3D camera solve to make fire feel like it belongs in the environment. For roto, the tool matters less than the quality of the result. In a heavily layered composite, a bad roto will undermine everything else you do.
Pro tip: keep your roto loose if the fire is fast-moving. It adds to the realism and saves time.
2. Understand how cameras see fire
This is where most composites fall apart. Fire is incredibly bright, up to 10,000 lumens in some cases. Cameras can't hold both deep shadows and a bright fire source at the same time.
In a dark environment, if you expose for your subject, the fire blows out. If you expose for the fire, your subject goes dark. The counterintuitive takeaway: perfectly exposed fire in a dark scene looks fake. Overexposed fire looks real, because that's what we're used to seeing.
3. Use real fire elements
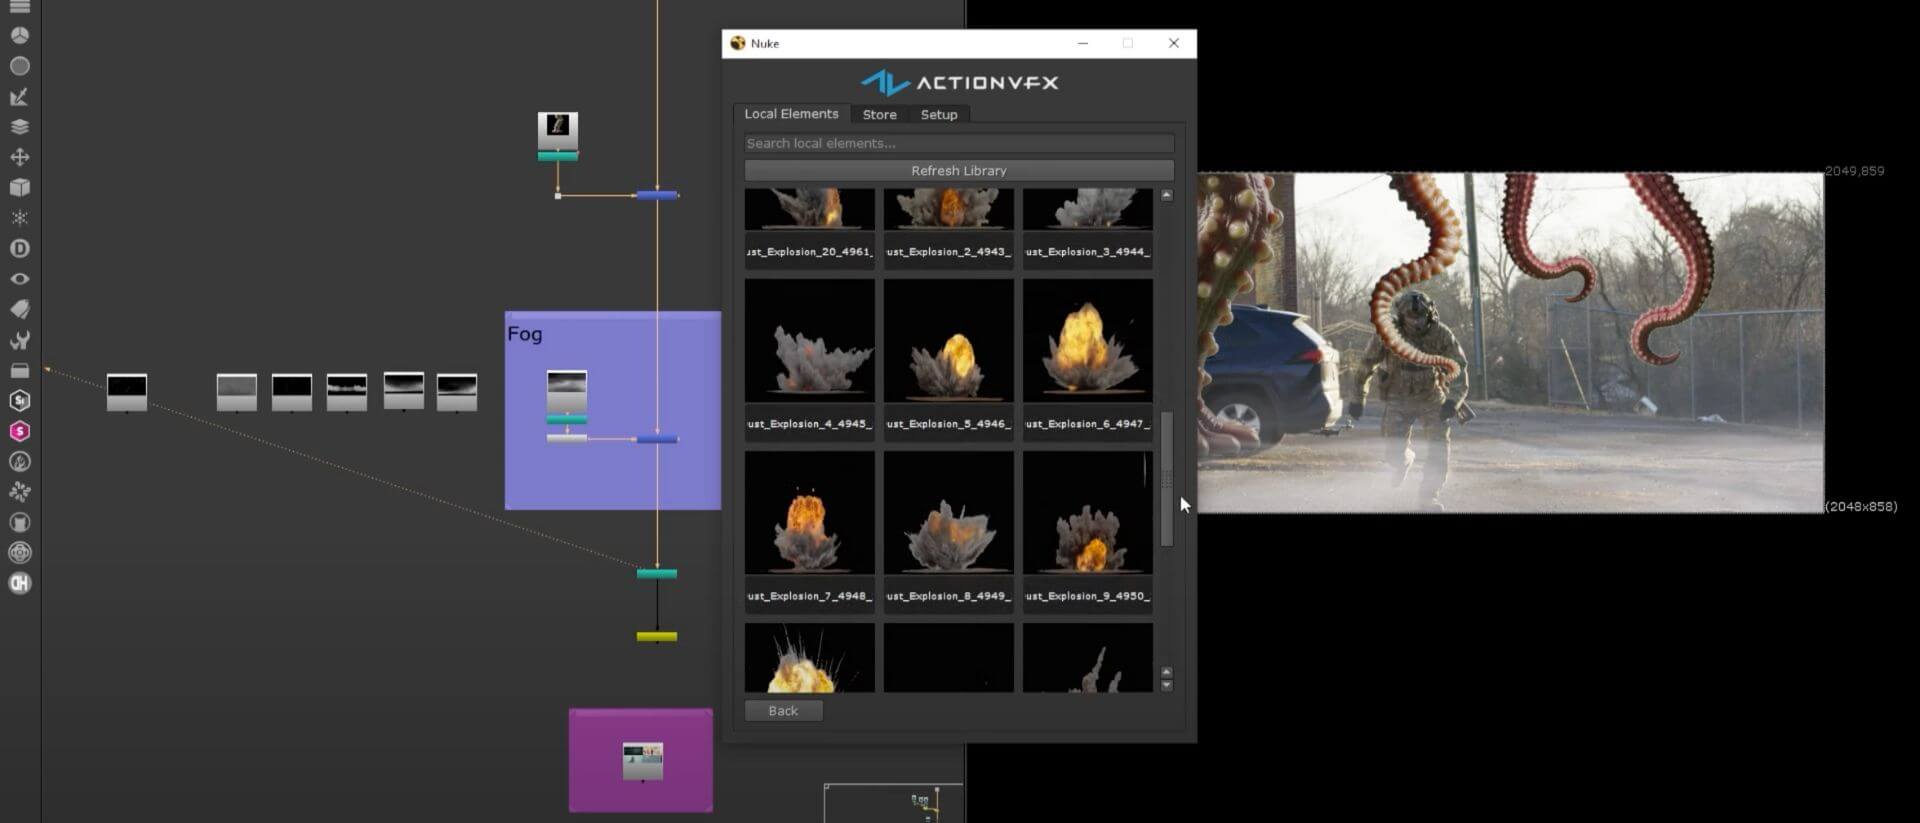
While there's definitely a place for simmed (or even generated) fire elements, simulations can be time-consuming and expensive. If you're working solo or on a tight production deadline, pre-keyed assets that are filmed for real save you hours of work. Plus, since they're filmed for real, you know the fire behaves like the real thing.
Explore our real fire elements
4. Match your frame rate and add motion blur
Stock fire footage is often shot at a high frame rate but delivered at a lower one. If the timing isn't corrected in your compositing software, the fire will move at the wrong speed.
Motion blur is the other issue. Assets designed to work across multiple frame rates typically don't have motion blur baked in, so you'll need to add it back. Match the shutter angle of your original camera as closely as you can.
5. Layer your fire from the ground up
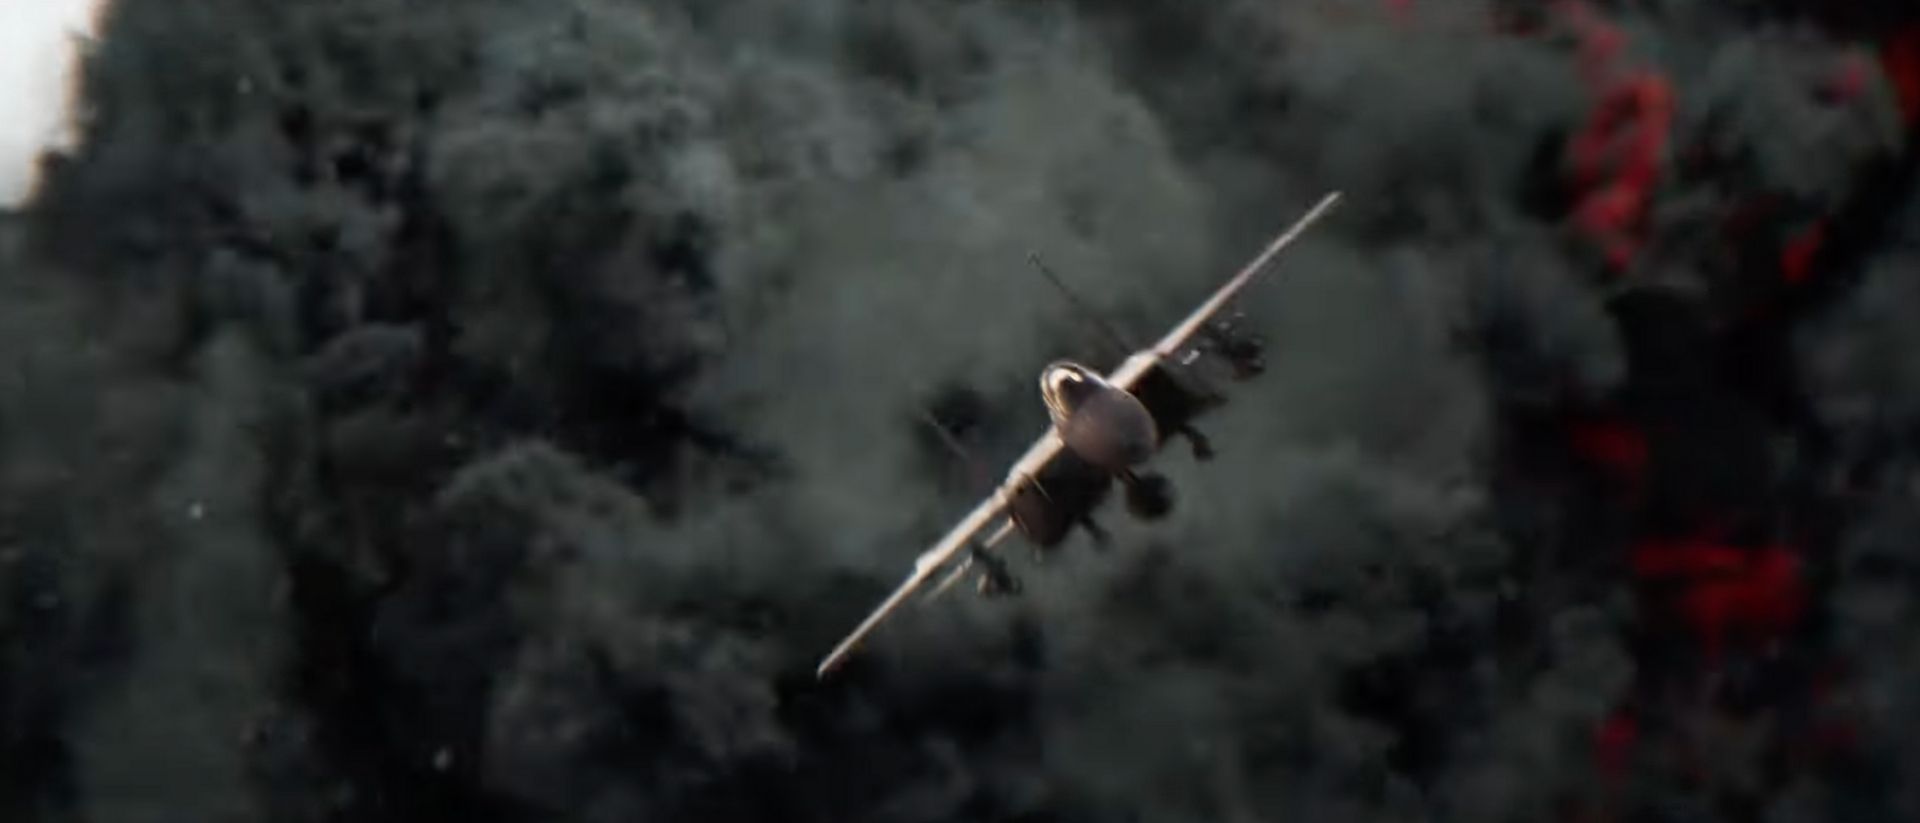
Start with environmental effects: burn marks, charred surfaces, heat damage. (Here are some real burn textures). These establish scale and intensity before you've added a single flame. Then add the fire itself, followed by sparks, then atmospheric elements like smoke and fog. For blending modes, fire generally works best on Add since it's a light source. Screen is more subtle and retains more detail, so it's worth testing both.
6. Glow, heat distortion, and atmosphere
Two kinds of glow matter here. Optical glow comes from lens imperfections and has a tight falloff. Environmental glow comes from particles in the air scattering the light. Either way, get it to where it looks good and then back it off by 50%. Over-glow is one of the fastest ways to cheapen a composite.
To go beyond just “looking hot,” your fire composite needs environmental reaction. In this shot, that includes:
- Heat distortion: subtle warp to mimic rising heat (this is easy to overdo, so study real reference footage and err on the side of being subtle)
- Floating embers: drifting sparks give a sense of atmosphere and movement
- Smoke layering: softens edges and fills the volume (think in three layers: foreground to blend edges, midground for detail, background for depth and scale)
7. Relight your subject
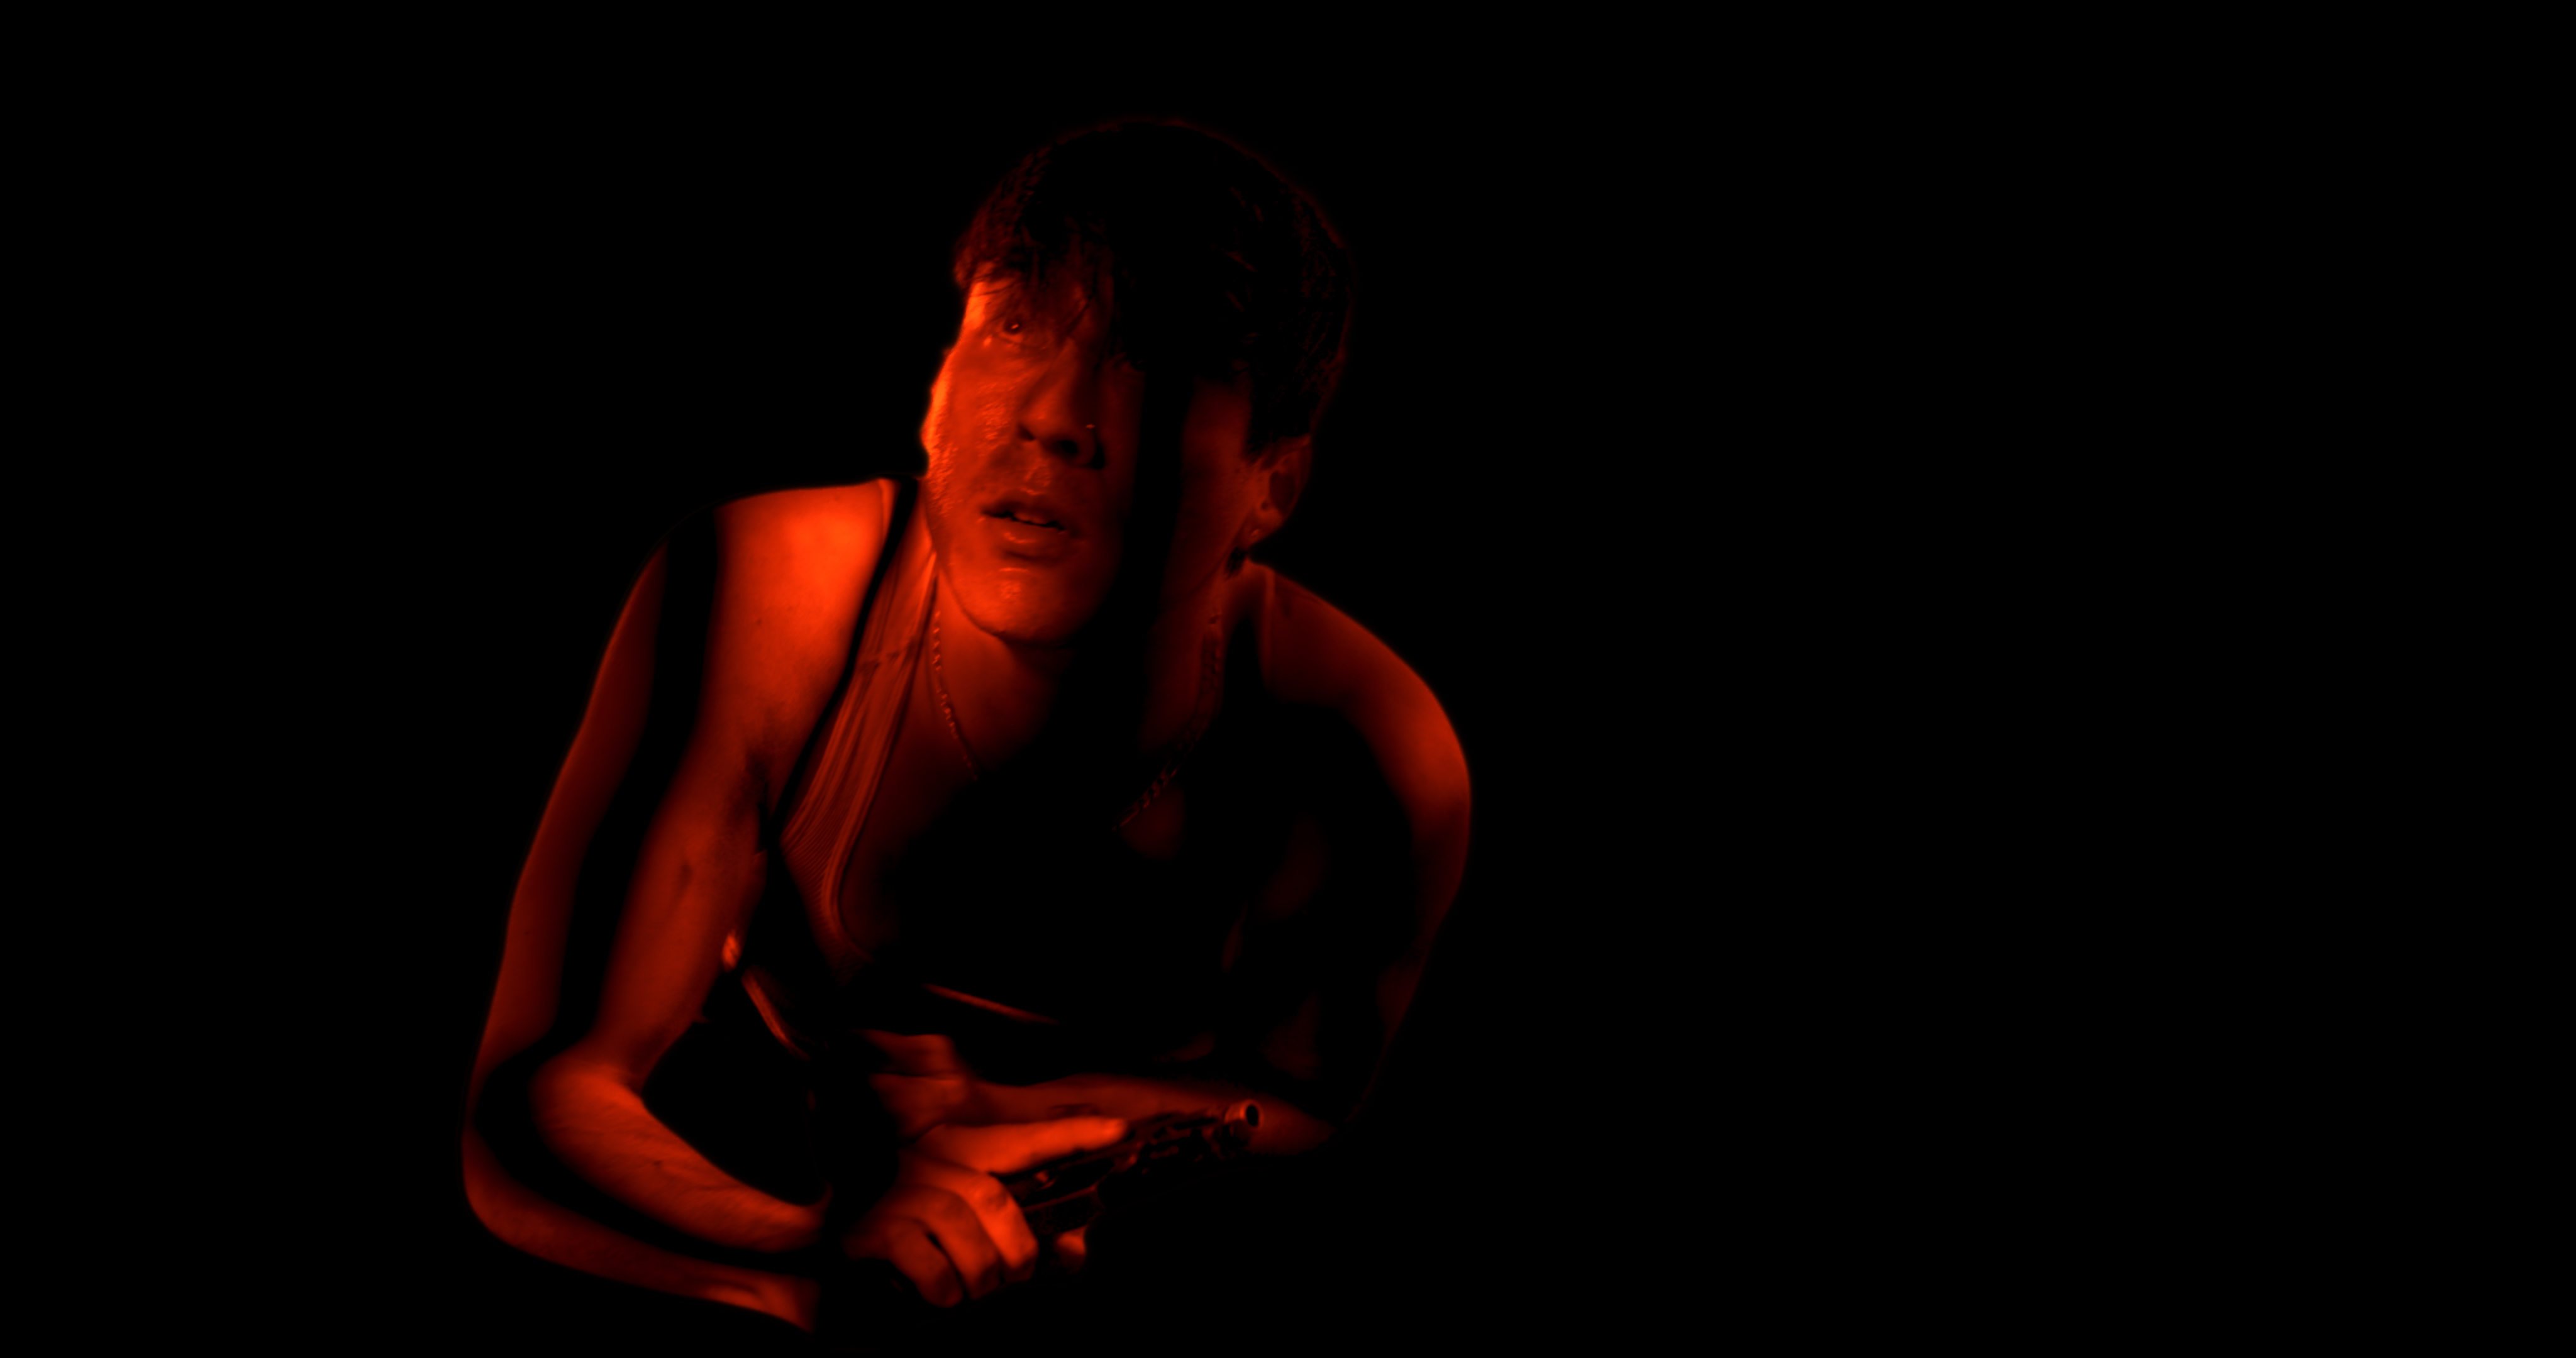
If your subject isn't reacting to the fire's light, nothing else will save the shot. One approach is generating a normal map in DaVinci Resolve Studio and exporting two relight passes, one from the left and one from the right. Tint both orange, set them to Add blend mode, and use a wiggle expression on opacity to simulate flicker. Two independent passes give you control over timing and make the lighting feel more dynamic.
8. Grade everything together at the end
Build your full composite first, then apply a unified color grade on top. This puts everything in the same color space, simulates natural lens behavior, and makes the whole thing read as one shot instead of a stack of layers.
Assets Used
Every element in this tutorial came from ActionVFX: 🔥 Fire Bursts 🔥 Ground Fire 💨 Smoke Plumes ✨ Embers & Sparks