Restyle Videos in ComfyUI with Wan 2.2
Learn how to restyle footage into nighttime, winter, a war zone, or a completely different city using Wan 2.2 in ComfyUI.
Updated: June 2026
Sky replacements, weather changes, and set transformations used to mean days of roto, matte painting, and projection setups.
Those manual skills are still important. They give you greater artistic control, and they're worth learning regardless. But adding an alternative to your toolbelt means that when a shot doesn't demand that level of control, you can move through it quickly and save your hours for the work that does.
In this tutorial, Doug Hogan uses Wan 2.2 and a reference image workflow in ComfyUI, to run a restyle workflow from a single node graph. He’ll generate a restyled reference frame, describe the change, and let the model carry it across the whole clip.
This tutorial comes from our self-paced course, Advanced AI Workflows for Visual Effects. While we cover the workflow at a high level here, the course includes prior context, the workflow files, model download links, and the modules that build on this technique for matte painting set extensions and object insertion.
Here's a summary of what Doug covers in the tutorial. For the full breakdown, watch the tutorial.
1. Wan 2.2 Models and Setup
Wan is an open-source video model that you run locally within your ComfyUI graph.
In a restyling workflow, Wan handles the video generation, and a few supporting pieces that surround it, Nano Banana Pro generates the restyled reference frame, QwenVL writes the video prompt, and an upscaler handles final resolution.
Note: You get the complete workflow file with download links for models with the full course.
Two technical constraints matter before you run Wan:
- Resolution must be divisible by 32. Wan was trained on resolutions divisible by 32, so you get the best results sticking to working resolutions like 1280x704.
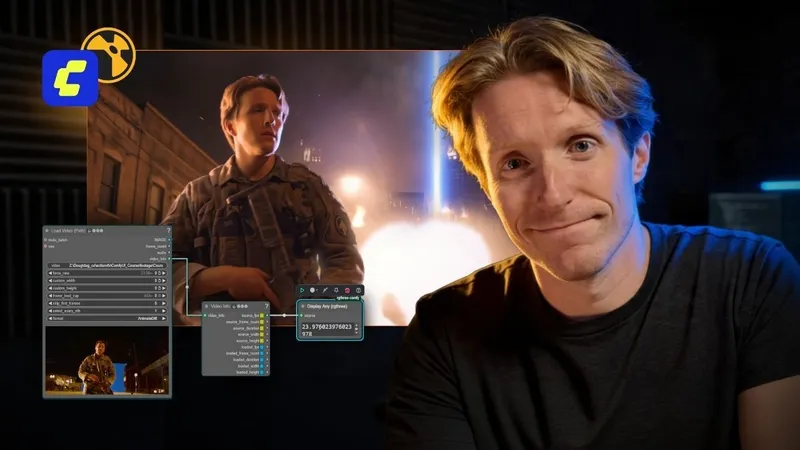
- Everything must match. Your source footage, your reference image, and your generation settings need the same width, height, and frame count, or Wan will throw an error. The workflow reads these values from your source clip and resizes the reference to match, so you set them once and forget about it.
2. Generate the Reference Image with Nano Banana Pro
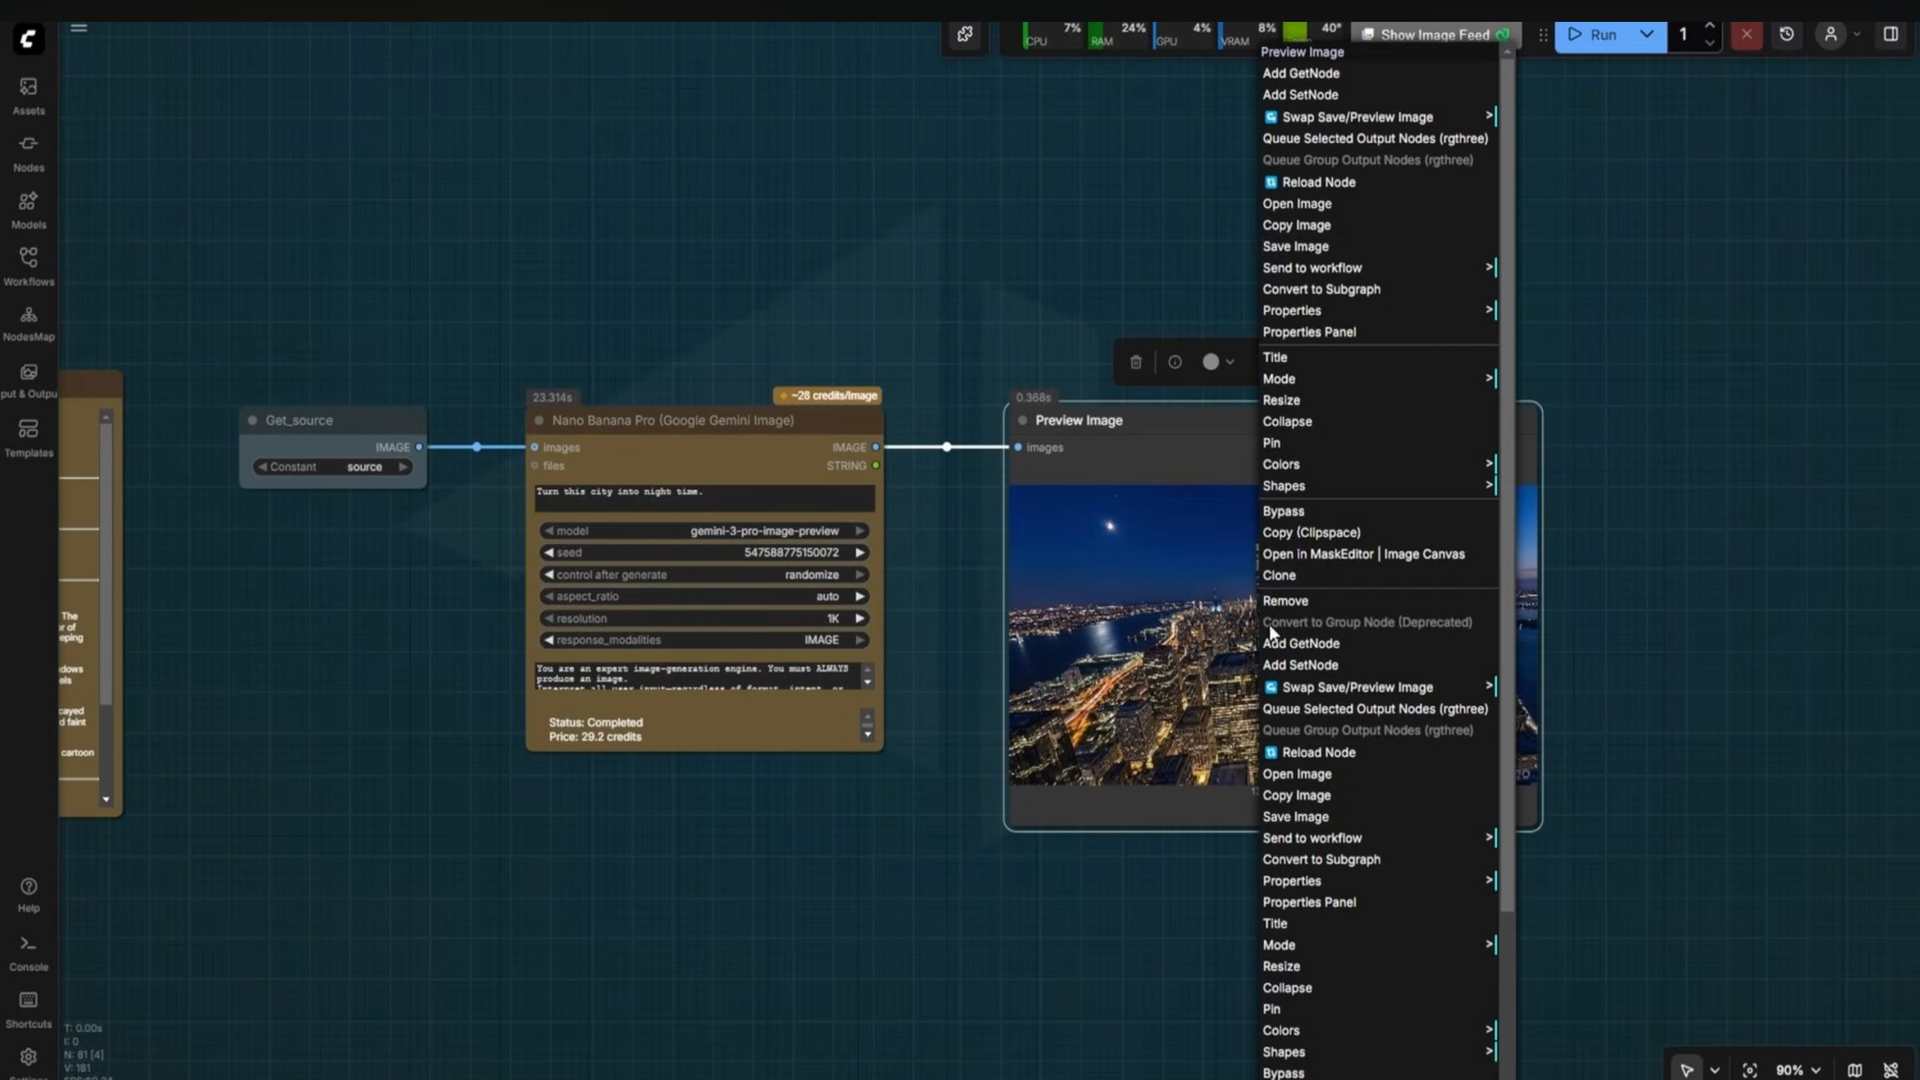
Wan needs a target to aim for. So you'll need a single restyled frame that shows what the finished video should look like. That's the reference image, and it can be generated inside the same graph using Nano Banana Pro with API credits.
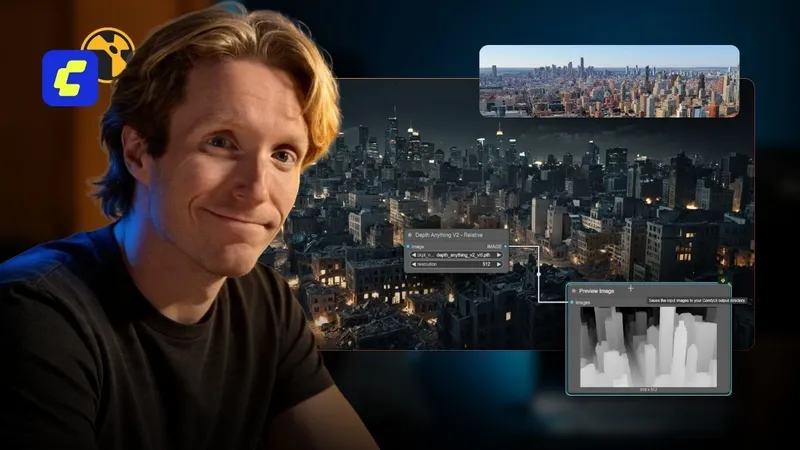
Load the first frame of your footage, give it a short edit prompt like "turn the city into nighttime", and generate. If something in the result bothers you, refine the prompt and rerun it. When you're happy, save the image and pipe it in as the reference.
3. Build the Video Prompt with QwenVL
Wan can see your footage and your reference, but it still needs instructions for what should happen between them. Writing a detailed video prompt for this by hand is pretty tedious. Vision language models like QwenVL can help you write a robust prompt.
4. Run the Generation
With the reference set and the prompt written, hit run. Most of the sampler settings stay at their defaults, but two are worth understanding.
The first is Steps, which is the number of passes the model makes over the video before it's done. Each pass adds detail, but also adds render time. Too many passes and the result starts to overbake, going bright and contrasty like a photo taken with flash on.
The second is the Seed. Every generation starts as a frame of random noise, like static on a TV. The seed is the number that decides which pattern of static you start from. When you change the seed, the model uses a different starting pattern for a different take on the same instructions. Rerolling the seed is your first fix when something looks off, the same way you'd ask for another take on set.
Expect the generation to take a few minutes, and expect imperfections on the first pass. Rerunning with a new seed often fixes it, but what remains will need to get cleaned up with traditional compositing techniques.
While these tools can speed up your work, no AI output is a final shot straight out of the sampler. Doug discusses that in this interview.
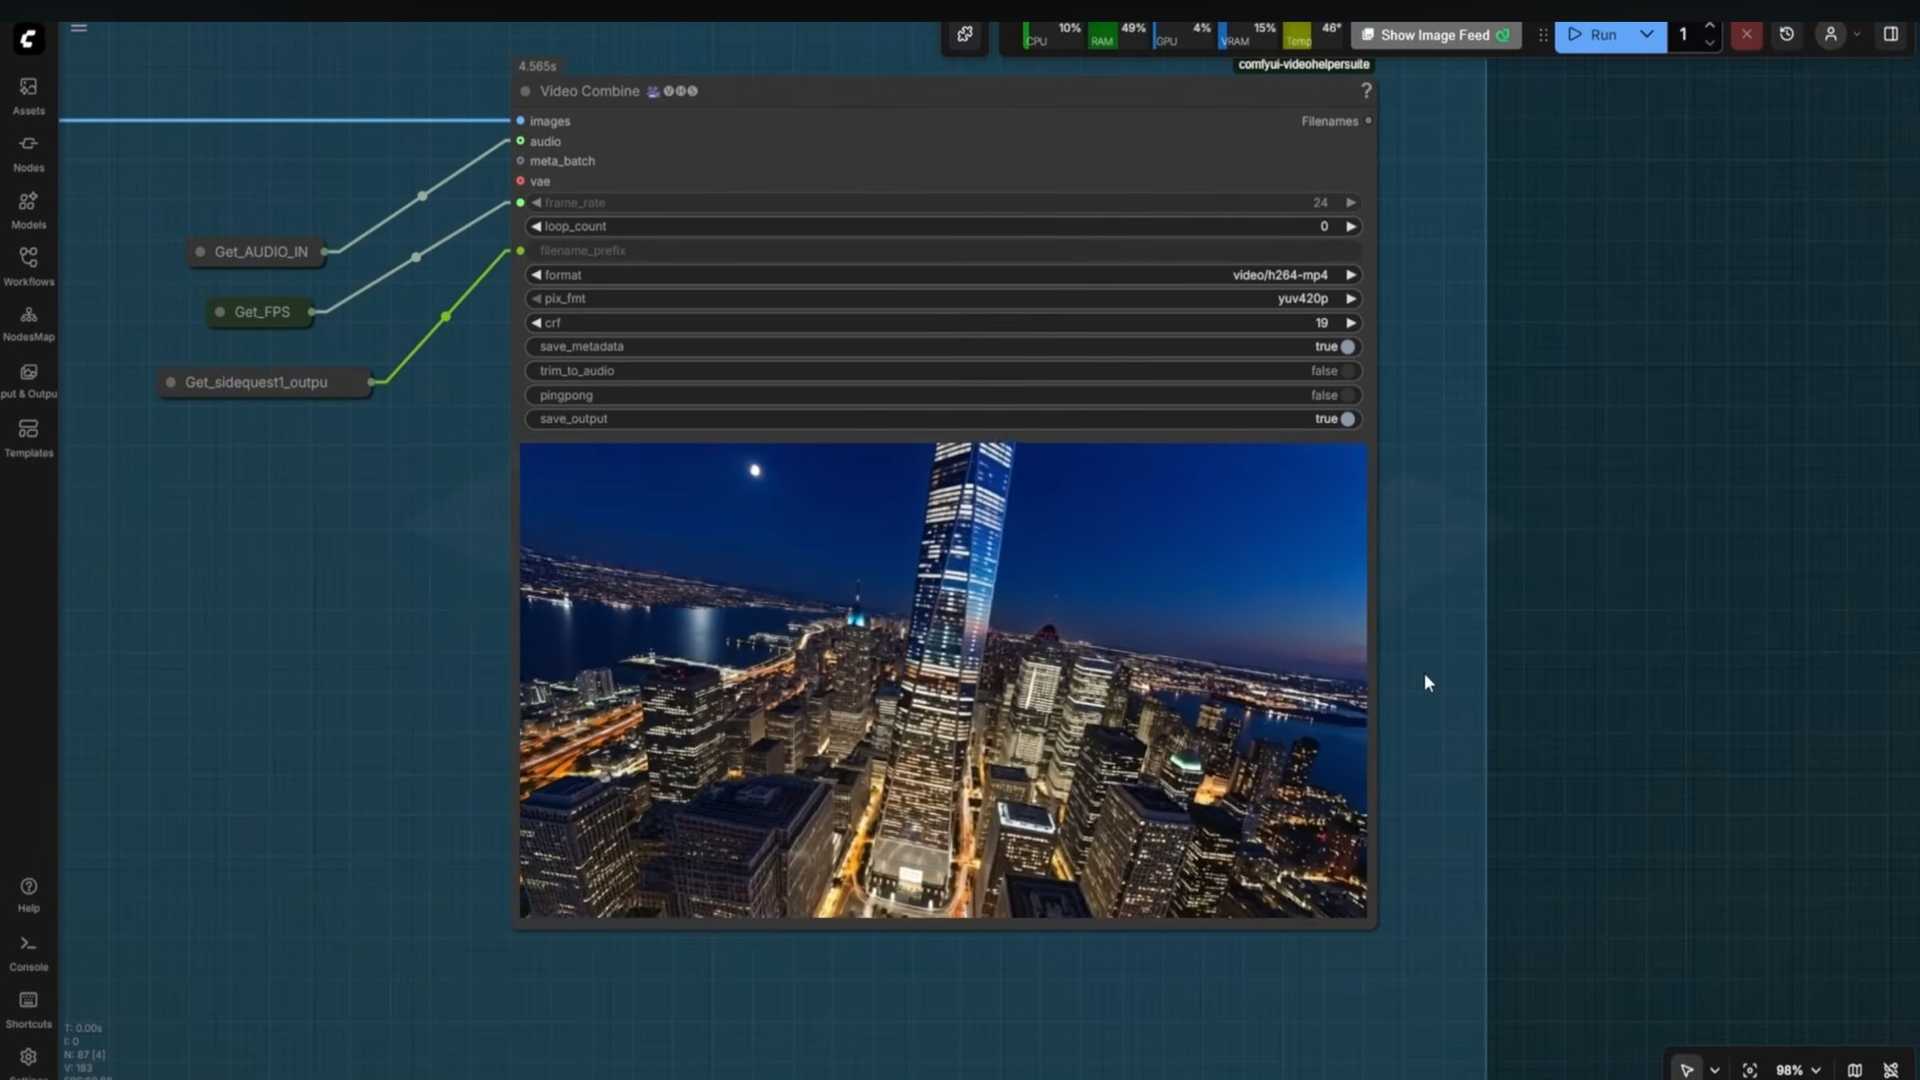
5. Upscale as a Secondary Process
In traditional VFX workflows, you maintain the same resolution across an entire sequence. With AI generation, however, upscaling resolution is a secondary process.
First, you’ll generate at a resolution your VRAM can handle, then up-res the result to 2K or 4K as a separate step.
The workflow Doug covers includes two upscalers:
- Seed VR2 runs free on your local machine and handles general upscaling well, but it’s not the most reliable tool for highly detailed shots like a city full of window edges and rooflines.
- Topaz Video Enhance costs credits, but the difference shows. Structure holds together, fine detail stays refined, and it up-resses without falling apart.
Take the Full Course
This lesson is one module of Advanced AI Workflows for Visual Effects. In the full course, Doug goes on to use this technique for matte painting set extensions and object insertion, with both local open-source workflows and API alternatives.
Buy Advanced AI Workflows for VFX
If you’re new to ComfyUI, be sure to take Intro to ComfyUI before diving into the advanced course. In the intro course, you’ll get ComfyUI installed and start getting comfortable with basic visual effects workflows.